Size optimization in React Native
Author
Luka Patrun
Date
Category
Development
In today's world speed is the king. We have become spoiled for speed and not having to wait for anything and this also applies to mobile apps.
At collective mind, we strive to make our apps with optimization in mind. By that we are considering a couple of things like bundle size, in app performance and all of it has speed in common. By being considerate when making apps, we can make them both performant and future proof.
So without further ado I would like to invite you to continue reading this article where we will start with a blank app and we will investigate what we can do to reduce app size.
REACT NATIVE
In order to test our changes we will start by creating new react native application. I will create one using the typescript template but it doesn't make any difference if you make one without typescript:
npx react-native init MyApp --template react-native-template-typescript
With this we have a starting point. Before making any changes I want to make a RELEASE version of this empty app.
Default app
To create APK which I can install on my device I will run
cd android && ./gradlew assembleRelease
inside my terminal. This will initialize app generation which I can find in
android/app/build/outputs/apk/release
As you can see on the next image, the size of the starter react native app without optimization is 18,6 MB.
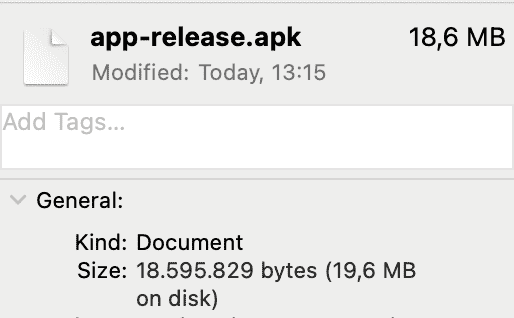
And for something that has only some text on it and couple of links, I believe you will agree with me, ii is just too much.
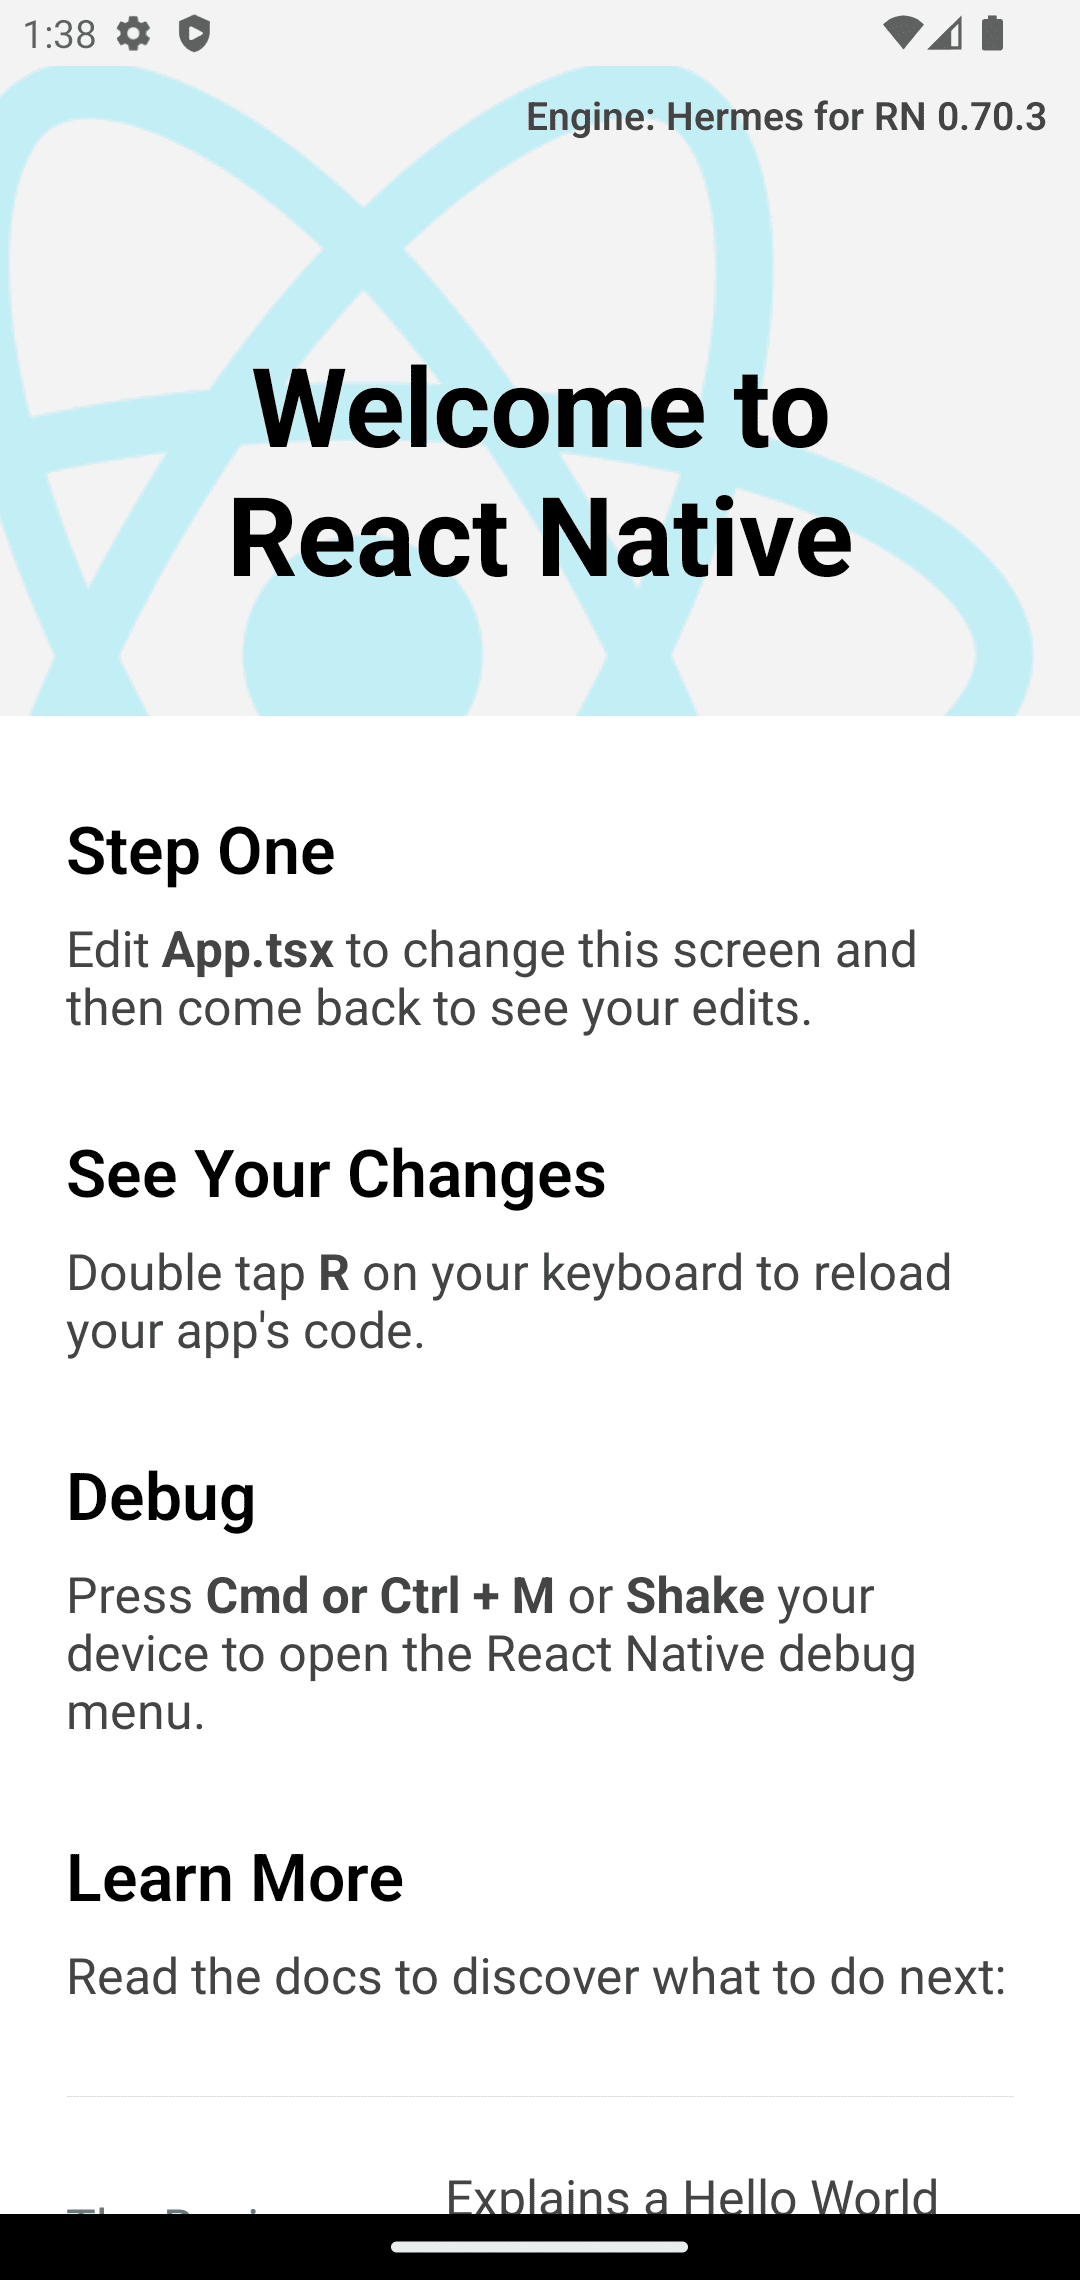
Let's just check how big the app is once it is installed.
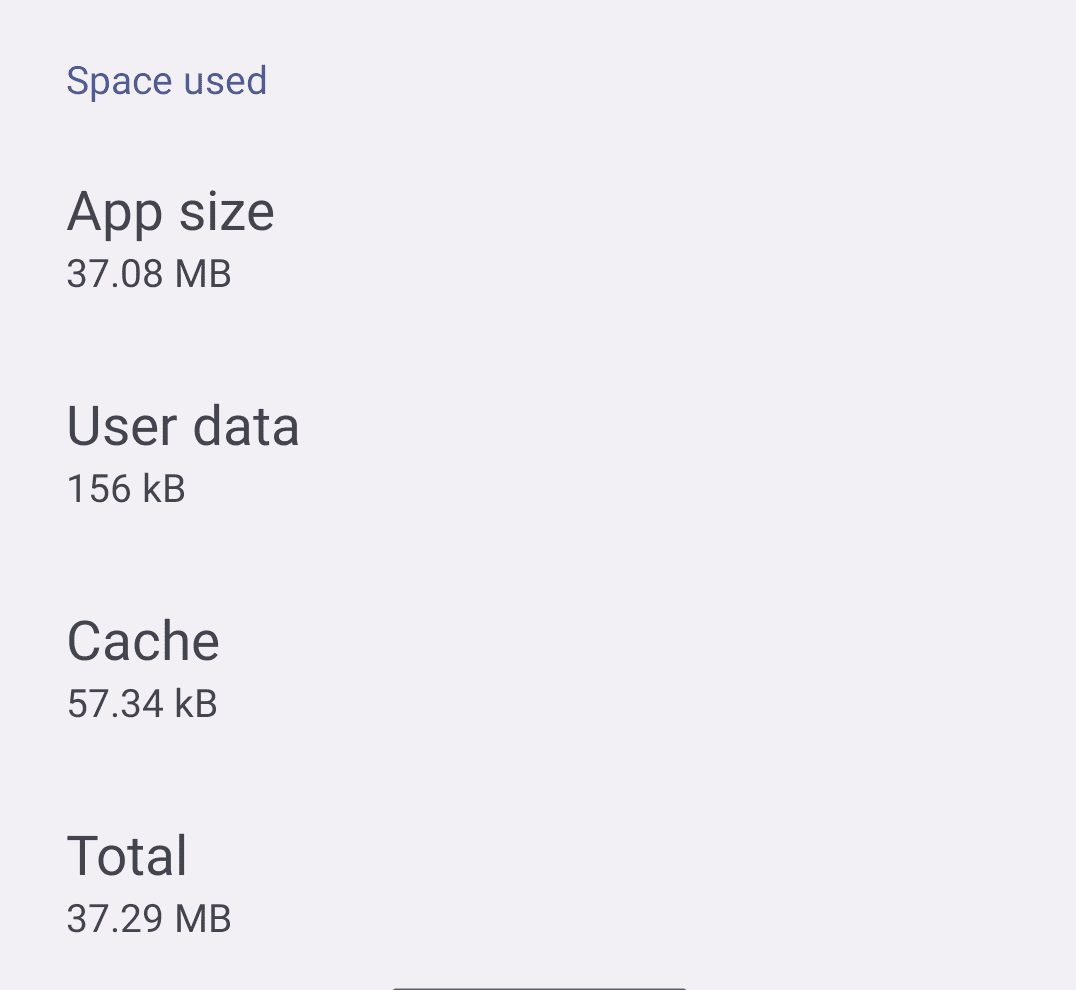
As visible from the screenshot the app is 37,08 MB in size. Even though new smartphones have more than enough space to download and install apps this big hundreds of time, that doesn't mean we should stop at this.
CPU Architecture
Just like PC CPUs have different architectures, so do mobile phones.
But what exactly does that mean to us and what can we do about it?
For us to be able to install "traditional" APK to all sorts of devices,
gradle has to make that one version and make sure it will run on a lot of devices.
To battle this we have an option to make builds for each of the architecture out there
and by doing that we don't need unnecessary overhead we have by building only one APK.
Inside
android/app/build.gradle
you must enable enableSeparateBuildPerCPUArchitecture.
...
def enableSeparateBuildPerCPUArchitecture = true
...
and if we create release one more time we will see 4 APKs in our release folder.
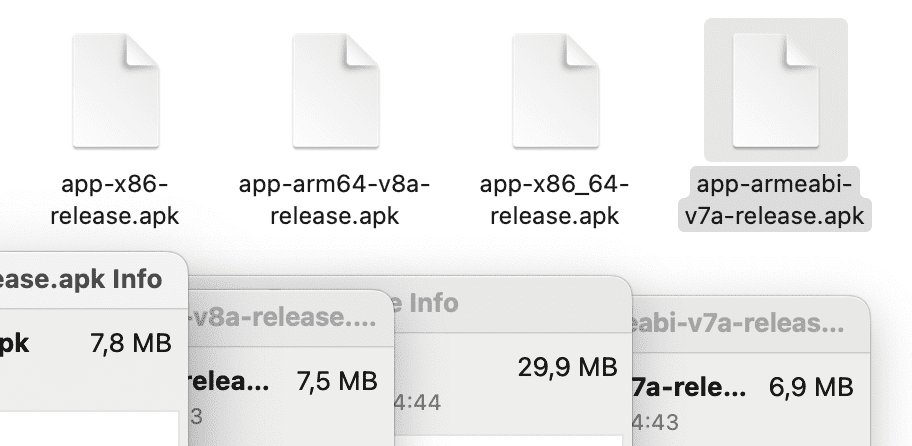
Now with four possibe APK we must install only the supported one on our device. If you are having a newer device you should be installing the "app-arm64-v8a-release.apk". If you are unsure which one to install you can either install every until one can actually install and run or you can go ask the almighty Google for help.
Alright, alright, alright, now I will install the APK so we can see if there is any improvement and how big the difference it is.
As visible from the image below, we have just saved 11,14 MB of space.
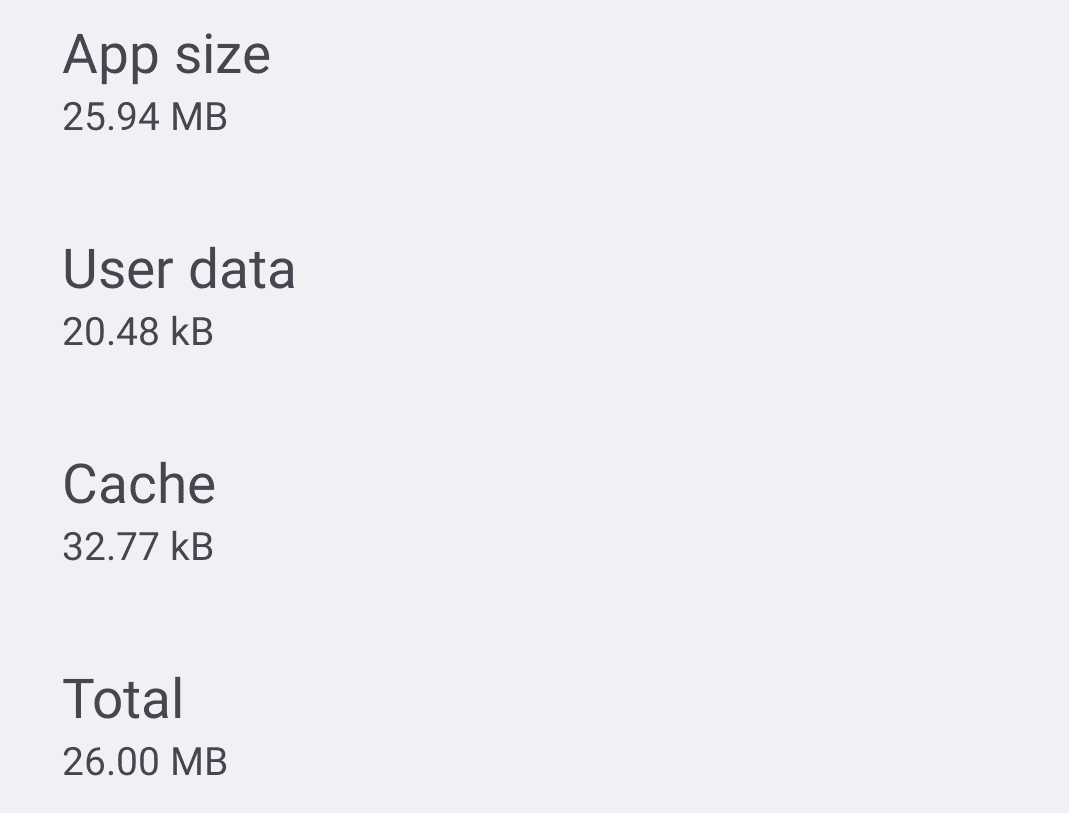
This might not be a lot in numbers but this means our App is now 30% smaller than the original one with just one small change.
If you are going to upload your app to the app store, make sure to generate and upload an ".abb" file type to get even better results.
Read more about this on Developer Android.
After this little optimization one thing has crossed my mind:

why stop here. Next up
Proguard
To quote React Native docs
"Proguard is a tool that can slightly reduce the size of the APK.
It does this by stripping parts of the React Native Java bytecode (and its dependencies) that your app is not using."
To enable proguard we will go back to build.gradle and enable it:
...
def enableProguardInReleaseBuilds = true
...
and let's assemble new APK's and take a screenshot of them.
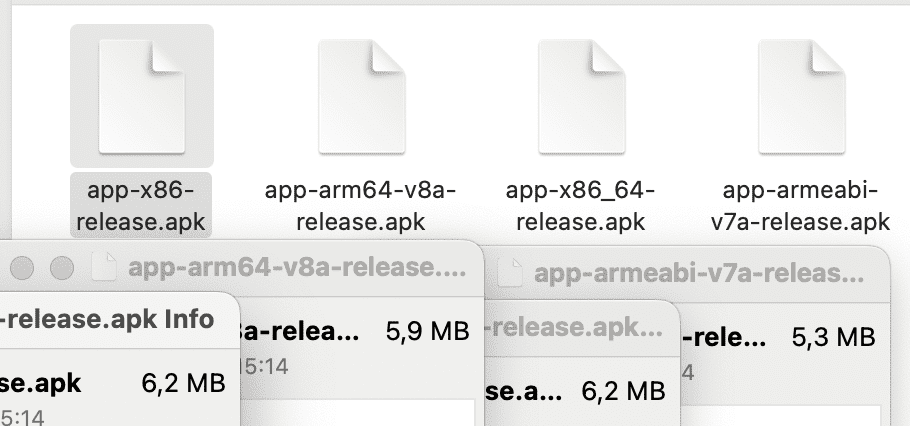
Before focusing on v8a APK I want to emphasize just how much x86_64 APK has lost in size.
It is down to just 6,2 MB from 29,9 MB and that is a reduction of a whopping 80%.
On the other hand, the v8a instance has reduced from 7,5 MB to 5,9 MB which is a reduction of 22%.
Here you can read more about Code shrinking.
And the installed app is now:
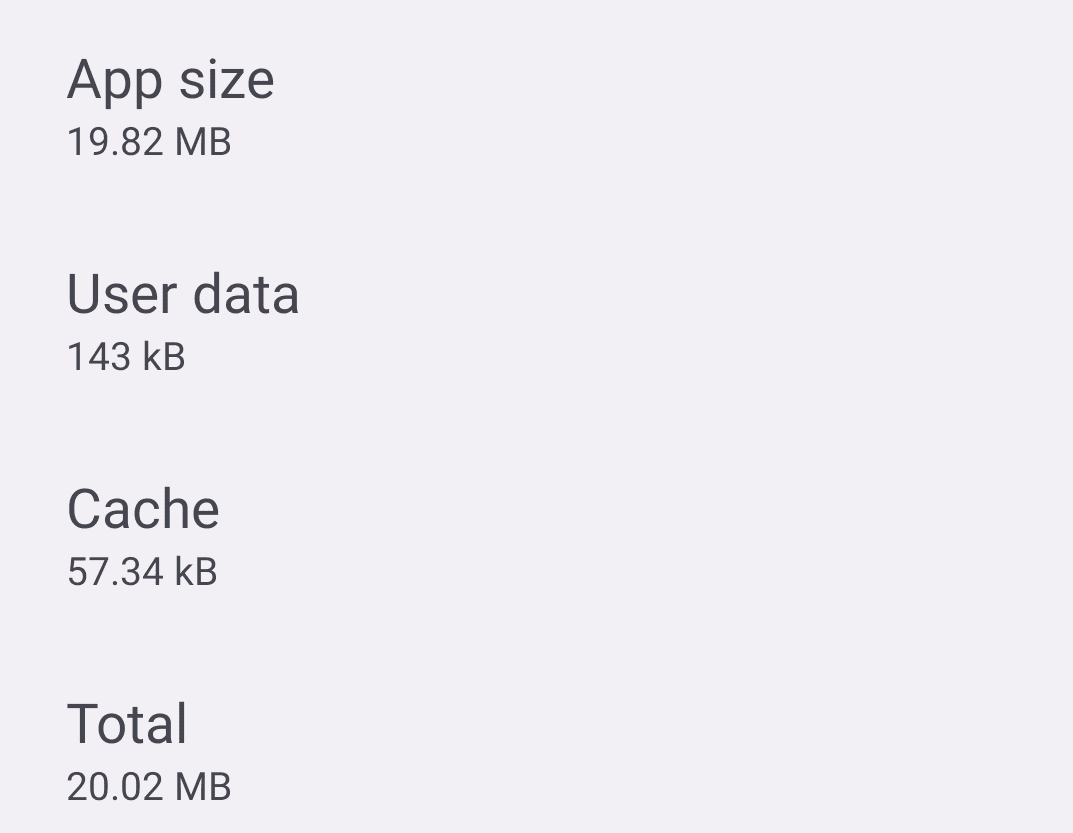
more than 6 MB smaller than without proguard.
Oh yeah, one more thing.
Shrink resources
I almost forgot to mention shrinkResources. This will be the last optimisation we will make in this post.
This actually works only in conjunction with code shrinking.
After the code shrinking has removed all unused code, resources could be shrunk as well.
So the order will be:
- • minify will shrink our code, i.e. remove all unused code,
- • shrink will actually remove all resources that are no longer needed.
Turn on shrinkResources:
...
minifyEnabled enableProguardInReleaseBuilds
shrinkResources true
...
the minifyEnabled will get its value from the enableProguardInReleaseBuilds. Drumroll please, let's check the final results before the summary.
The APK sizes are:
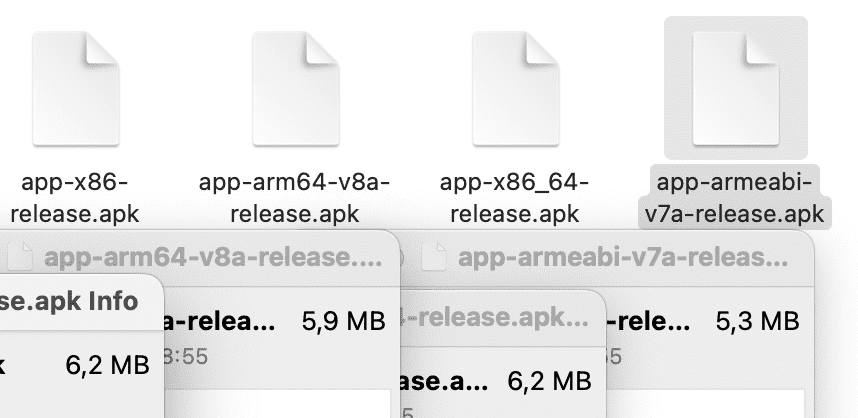
the same as without shrinkResources set to true.
But what about if we install it.
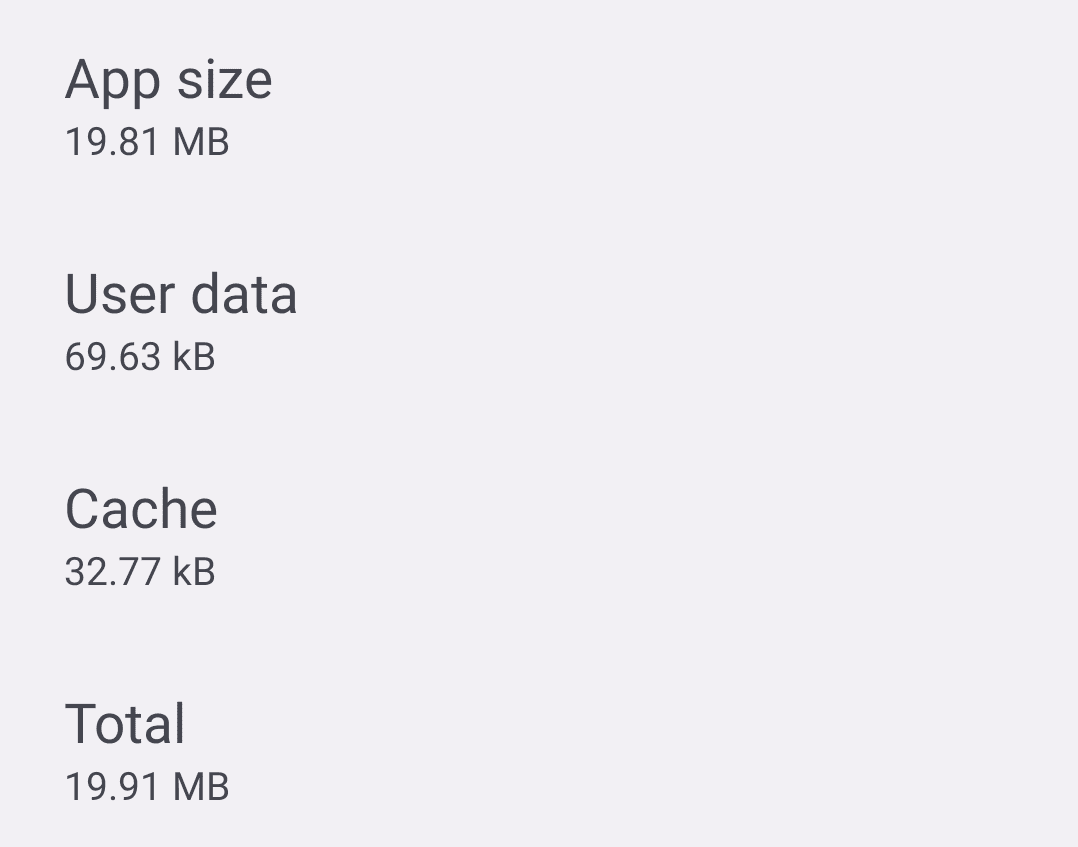
There is a difference of about 0.01 MB, which is nice.
Even though the results are somewhat disappointing, they make sense because this project is pretty empty.
Summary
Firstly I want to thank you if you came to the end.
To recap everything, I have made a small graph to summarize all the data.
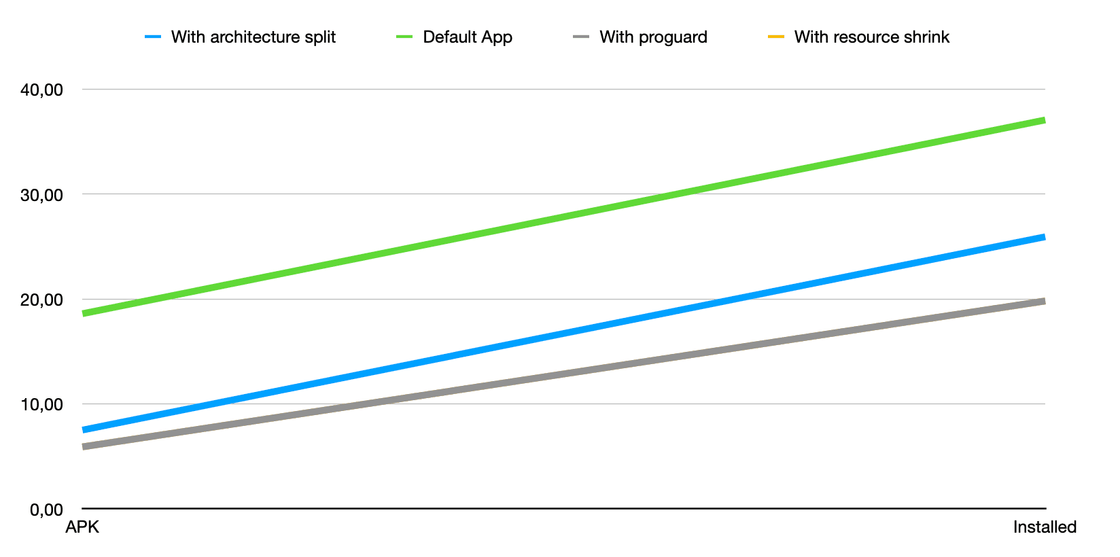
With proguard and With resource shrink lines have actually merged together.
That's it for this post, make sure to check later for new ones.